I thought I would collect all the photos from the pergola project I just completed, from initial Sketchup drawings to the final thing itself. It’s not fine woodworking, but it should get the job done. Time will tell.
(click any photo to view larger on Flickr)
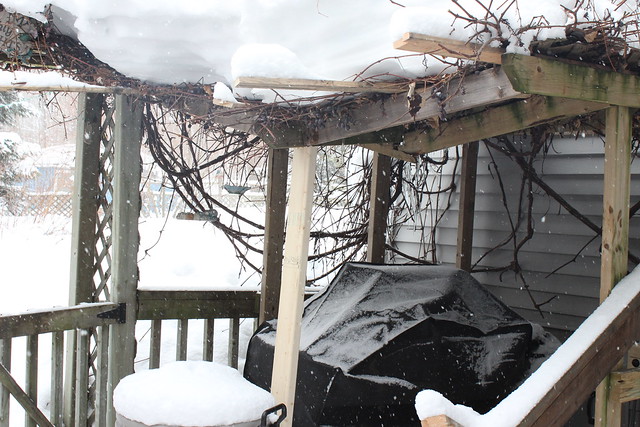
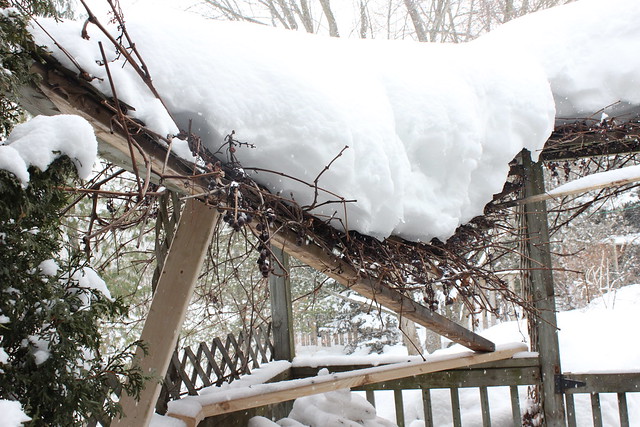
The winter of 2014-2014 brought a tremendous amount of snow our way, and thanks to the Polar Vortex, very few opportunities for it to melt. Our old pergola, and a separate section of lattice covering another corner of the patio, were no match for the snow load.
So a new arbour was definitely going to be necessary, and the planning stage began. Here’s the final iteration of the plan as drawn in Sketchup. It’s more or less what I stuck to, apart from the horizontal braces around the left side, which are in slightly different positions. And the small spacer blocks between the rafters are not shown here.
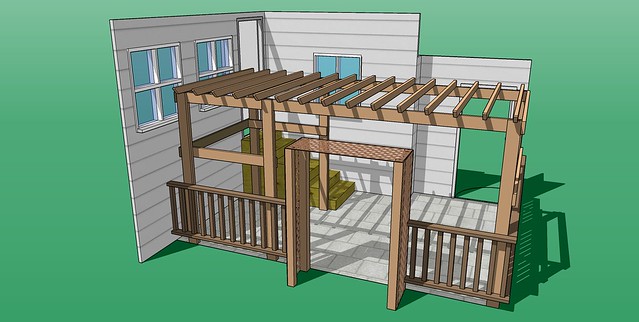
This is a video walkthrough of the Sketchup plan.
As soon as winter seemed to be more or less done with us, I was able to reclaim the car-sized front of my shop for shoppish purposes, like stacking and stickering a delivery of treated lumber for the pergola (or is it an arbour?)

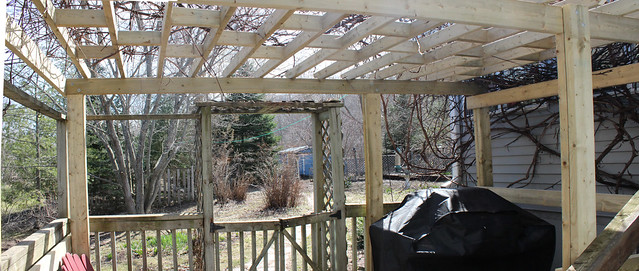
During demolition, my wife had the clever idea of leaving the sides of the old pergola in place, to hold the grapevine up and allow me to build underneath it. This worked pretty well, overall, although much wrestling with the grapevine ensued at various times.
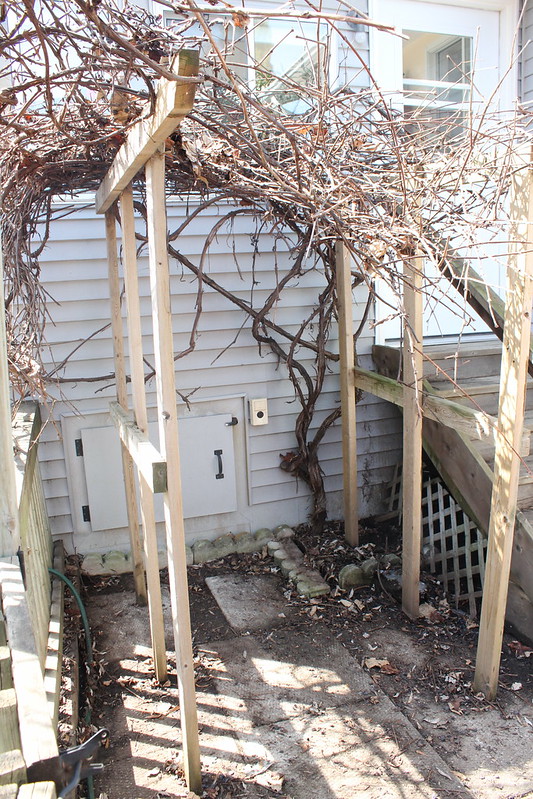
Each of the six posts for the new pergola consisted of two laminated 2×6 boards, one of them a bit shorter for the beams to sit on. I first made the end assembly for the end under the grapevine, consisting of two posts and two cross braces. Wedging this into the corner with the tangly mangly grapevine resisting at every turn was great fun, but once in place it kept the vines up high and mostly manageable for the rest of the project.
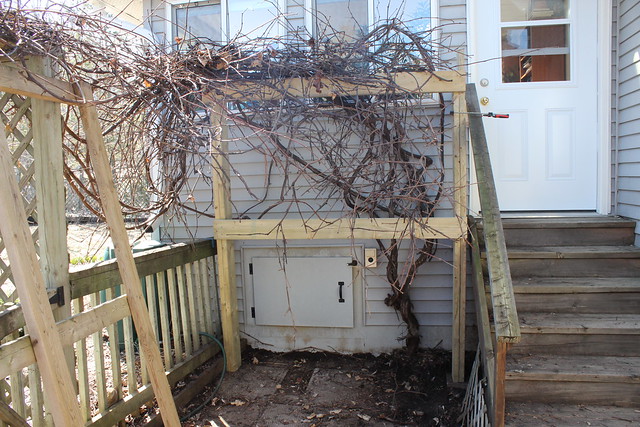
I next built and positioned the other end assembly, which the allowed me to get the beams sitting pretty on their little ledges on the posts. I clamped the beams in position while I drilled the holes for the carriage bolts.
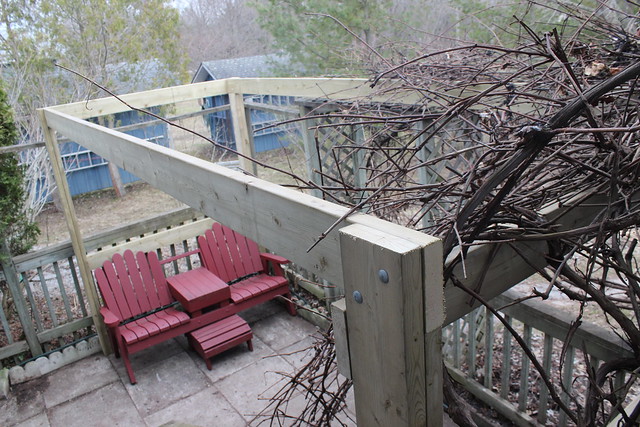
I debated whether I even needed the other two posts, as it seemed fairly sturdy, but I went ahead anyway. Thinking back to winter, I didn’t want any more trouble… So all six posts are in place now.
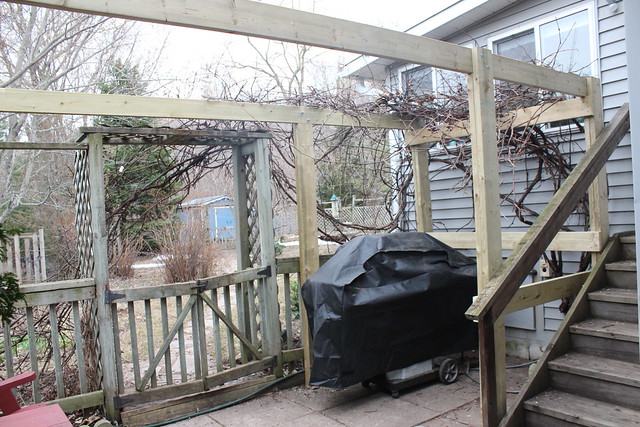

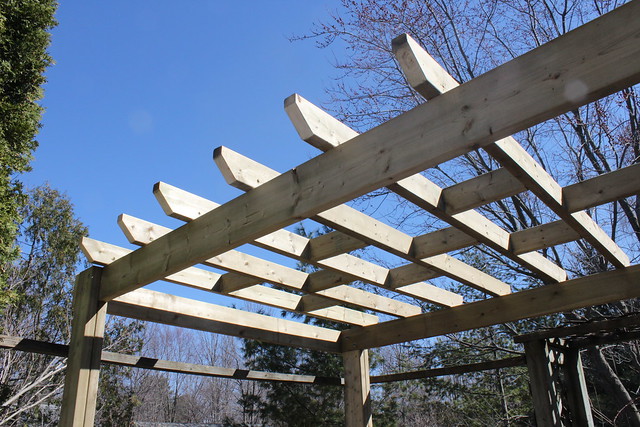
With the structure complete, it’s time to add the rafters. I built these as assemblies of two rafters at a time, with a pair of spacer blocks holding them together at the right spacing, 12 inches on centre. A third spacer in the center pointed the way for the next pair of rafters. This pattern of spacers repeats along the whole length of the pergola.
After some final wrangling (and swearing) as I used a 2×4 to push as much of the vine as possible back up onto the pergola, we called it done!
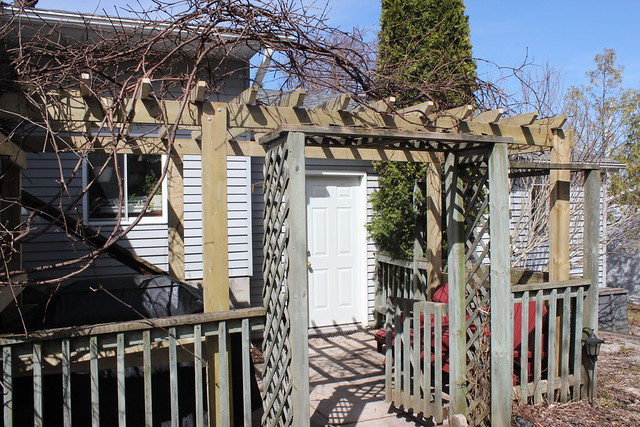
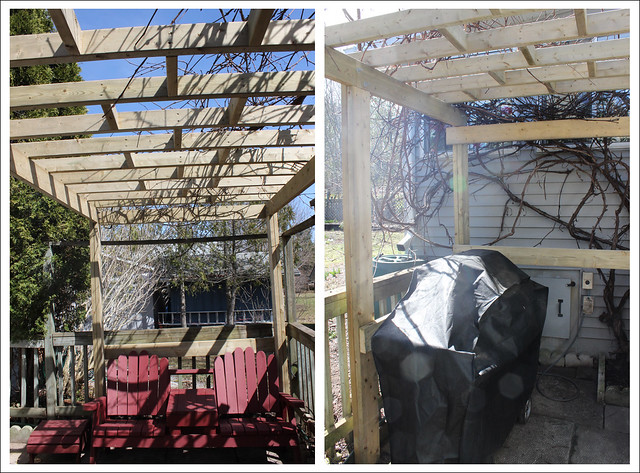
Time for a barbecue!