Continuing the octagon theme we have going on here at Barkwhistle, and continuing also to look for ways to use up some cedar scraps, I recently mitred together some small boards to make this small planter. Then I decided to try something a little bit different… instead of straight boring old miters, I though I would use one of these birds mouth router bits from Lee Valley Tools.
I showed the results of my first attempt to my wife, and she immediately declared that it would be a vase. It won’t hold water, says I. Well, maybe it will hold a mason jar, says she. And lo and behold, a perfect fit.
So here, just to amuse my own self, and/or in case somebody finds it useful, is a bit of an illustrated step-by-step description of how I built our second Mason Jar Cedar Vase.
1. Mill the pieces. I milled 8 pieces of Western Red Cedar, 2 1/4″ x 9″ x about an inch thick. It’s usually easier to work with longer pieces and cut them to final length, especially if you need to run them through the thickness planer, which would not be possible with pieces this length.
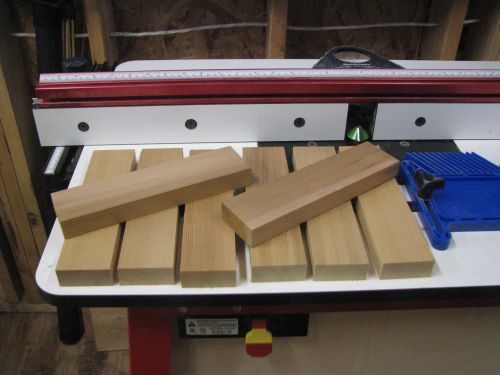
2. Rout the Bird’s Mouth. Using the “Birdsmouth 8” router bit (Lee Valley item number 16J40.58), and set up in a router table as shown, using a featherboard to ensure an even cut, I routed the bird’s mouth on one edge of each piece.
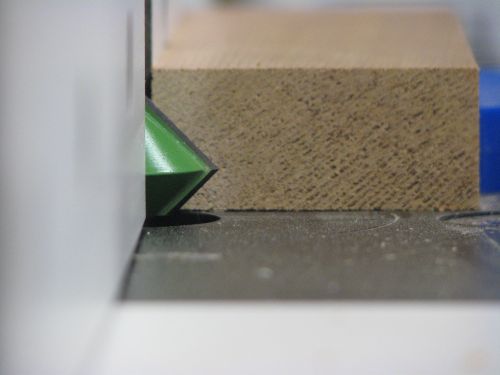
You can start to see how they will nest together. Pretty cool…
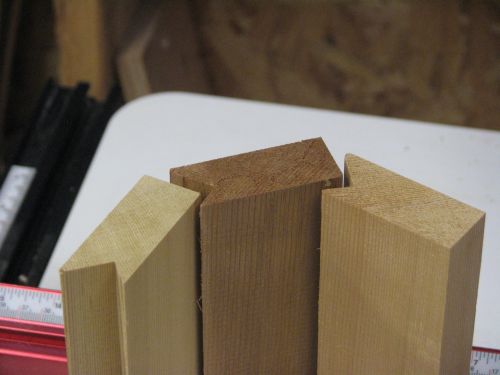
3. Dry-fit and tape together. Stand all the pieces on end and assemble the cylinder. Use your blue tape to tape the assembly together as snugly as possible. If the routing went well and the pieces were square to start with, it should magically come together beautifully.
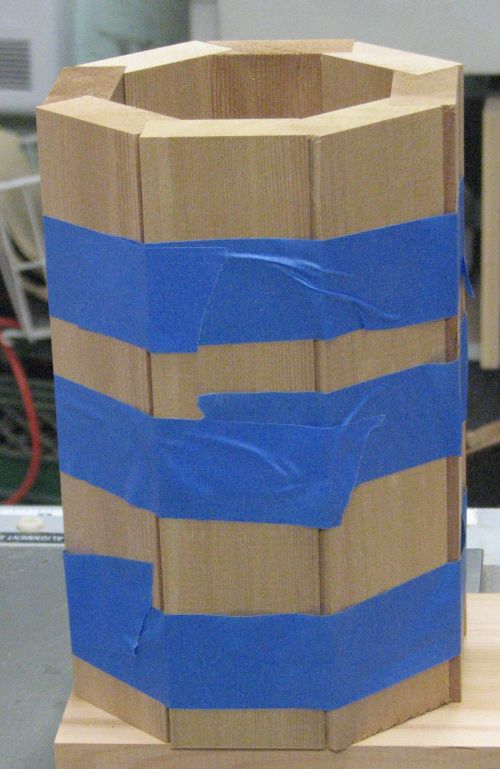
You’ll notice in the photo above that the assembly is sitting on another piece of cedar. This piece will form the bottom of the vase.
At this point I went ahead and glued up the cylinder, trying to use just the right amount of glue to prevent squeeze-out. Again I used the blue tape to pull everything together. Didn’t use clamps, although I suppose I could have got out the band clamp. The masking tape can be pulled taut enough to get a good glue bond, I think.
4. Trace the bottom of the vase. You’ll need a wide enough piece of cedar to completely span the opening of the cylinder. Hold the cylinder firmly down on this piece, and reach down inside the assembly to draw a pencil line marking the inside octagon shape.
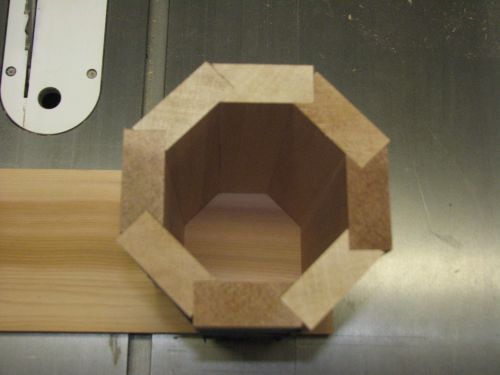
5. Cut out the bottom. I used the bandsaw to cut along the pencil lines to create the octagon-shaped bottom of the vase. I left the line showing, then used the disc sander to sneak up on the final fit. Being cedar, you could just as easily use a sanding block for the fine tuning.
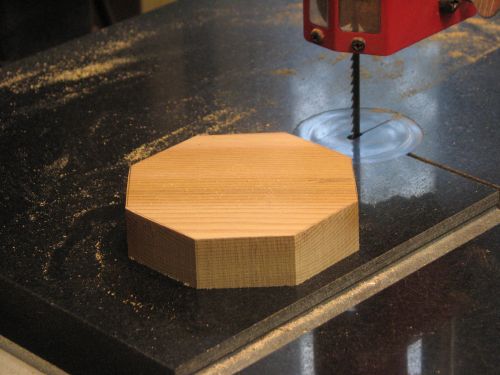
6. Install the bottom. If you get really lucky, you might find that you have such a perfect fit that glue alone will hold the bottom in place. I wasn’t so lucky, and in any event, I decided that it needed something mechanical to hold it securely enough to be safe. So I countersunk and counter-bored four holes, and installed four 1 1/4″ brass screws to hold the bottom firmly in place.
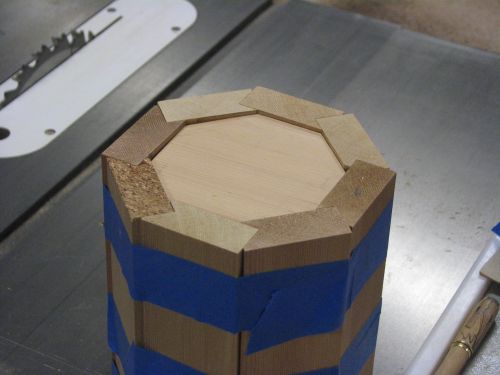
7. Final Sanding. When the glue has dried, I went ahead with the final sanding and shaping of the cylinder. You have a couple of choices here. Depending on the original thickness of the pieces, and the position of the router bit, there will be groove between each slat of the cylinder. You can either plane and sand this groove away completely, forming a round cylinder, or just “touch it up” a little, and leave the groove as a feature. I left it groovy on the first one, but decided to sand it to form more rounded transitions on the second one, eliminating the groove, but still maintaining the octagon shape.
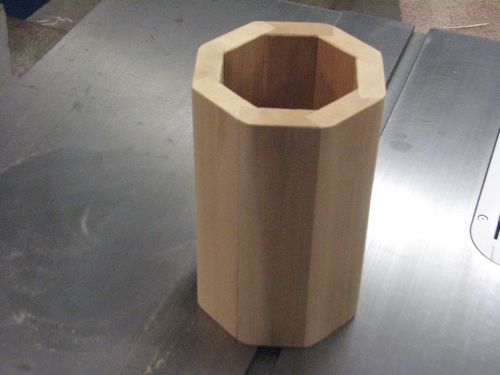
Note: Before finishing, I opted to pop a 1 1/4″ brad nail into each joint, around the top of the vase, just as a backup. This does leave a small dimple in the wood, so you may want to just rely on the glue joint if that’s a problem for you.
8. Apply finishing. I chose to apply a couple of coats of spar varnish, since I liked how it looked on the chairs I made. The first coat was diluted 50-50 with turpentine to enable good penetration, the second coat was applied full strength. Here’s a photo of the first model, the prototype, with its finish almost dry.
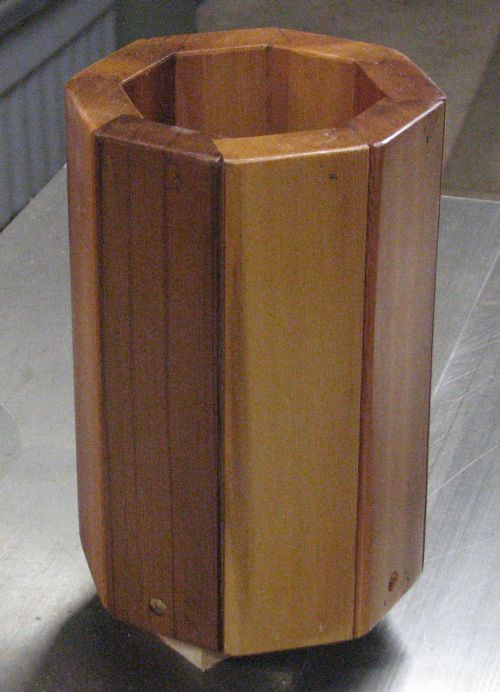
And that’s all there is to it. Just drop in a one-quart mason jar, a little water, and the vegetation of your choice!
(photo coming later, when the varnish dries…)